
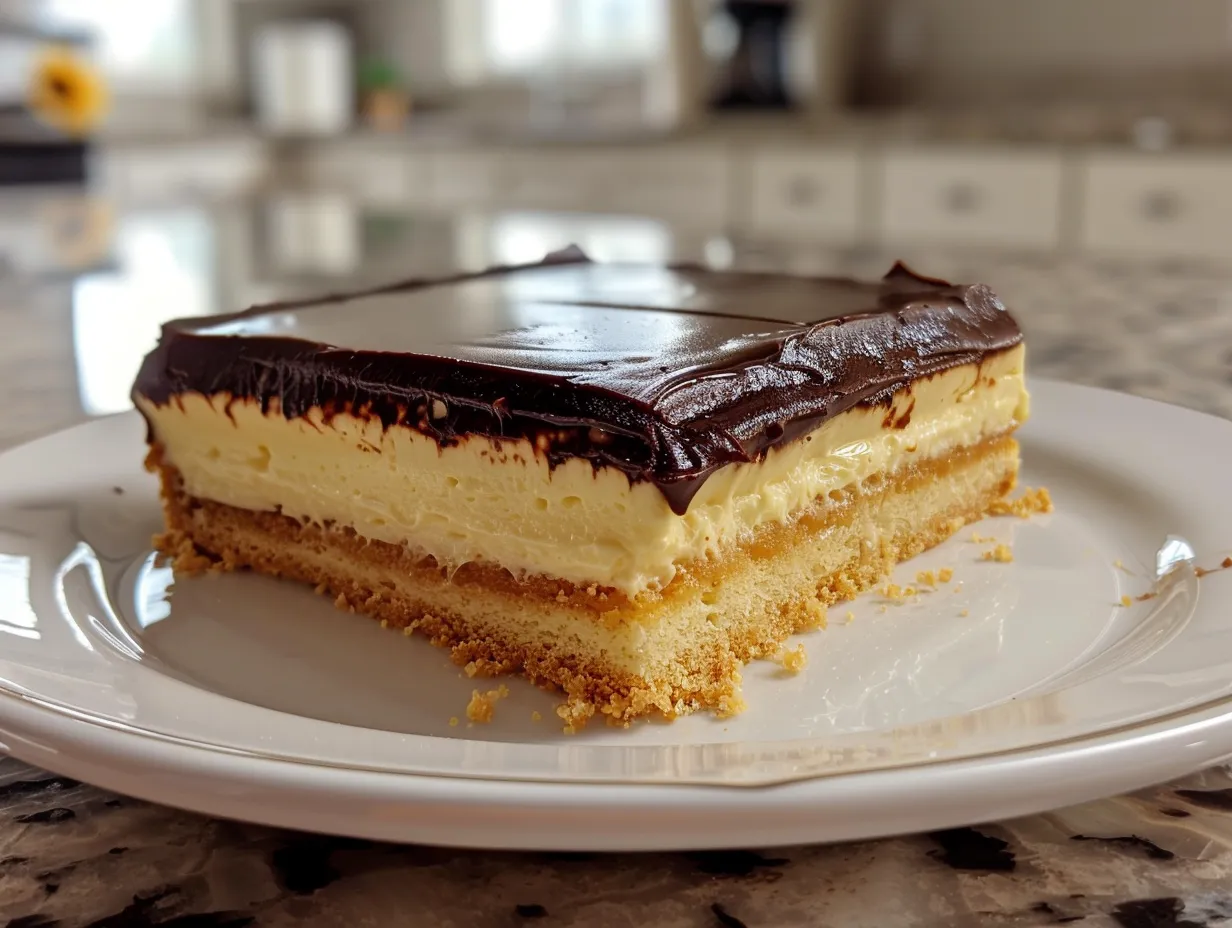
Okay, here we go! Let’s dive into the delicious world of Homemade Boston Cream Pie! It’s one of those treats that feels fancy but is surprisingly simple to make at home. As a busy mom, I’m all about making things easier in the kitchen without sacrificing flavor or nutrition. This Homemade Boston Cream Pie recipe is a family favorite that’s sure to bring smiles around the table.
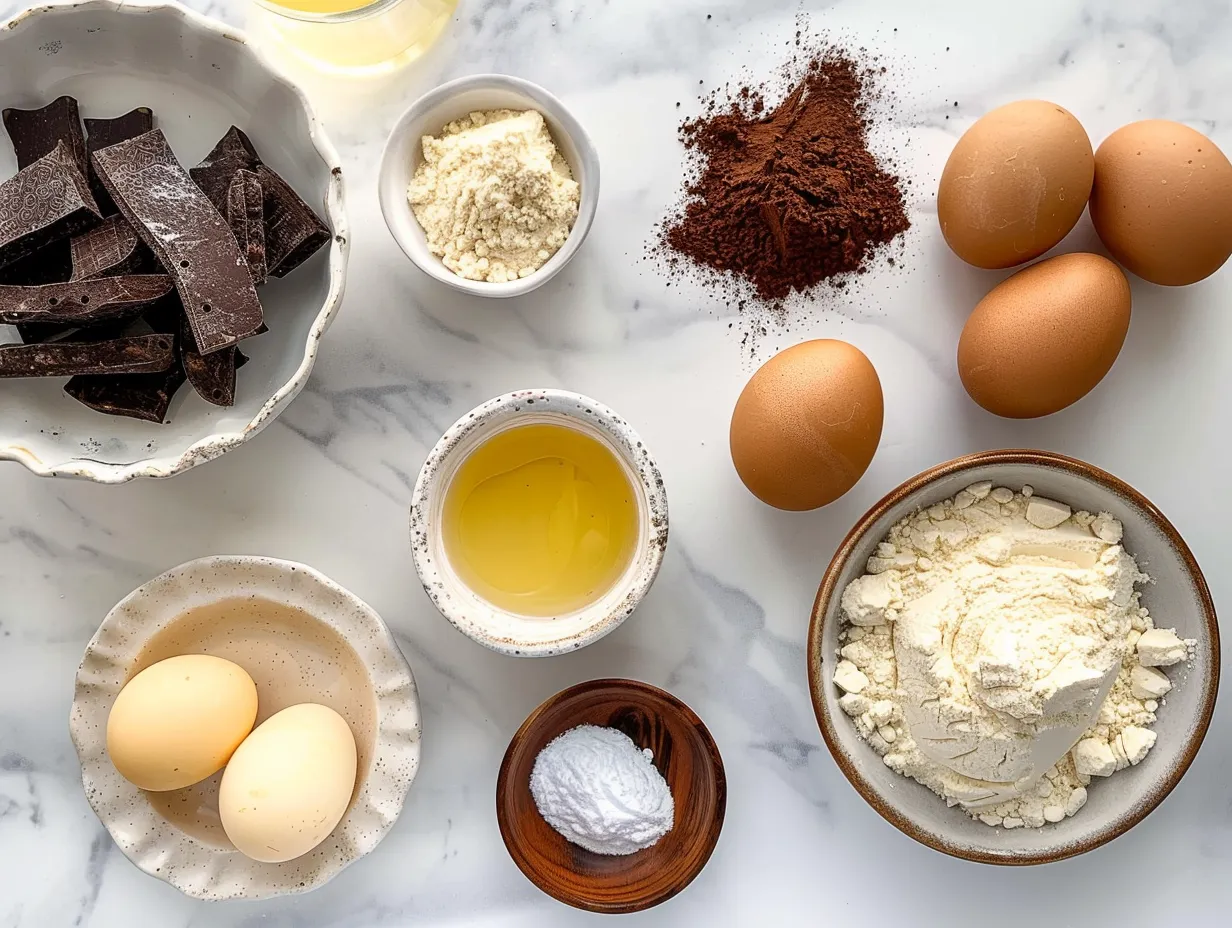
INGREDIENTS You’ll Need
Here’s what you’ll need to whip up this crowd-pleasing dessert. I’ve even included some healthy swaps to keep things nourishing for our families. This Homemade Boston Cream Pie recipe balances indulgence and wholesome ingredients perfectly.
- For the Cake:
- 1 ½ cups all-purpose flour
- 1 ½ teaspoons baking powder
- ¼ teaspoon salt
- ¾ cup granulated sugar
- ⅓ cup unsalted butter, softened
- 1 large egg
- ¾ cup milk
- 1 teaspoon vanilla extract
- For the Vanilla Cream Filling:
- 1 ½ cups milk
- ¾ cup granulated sugar
- 3 tablespoons cornstarch
- ¼ teaspoon salt
- 2 large egg yolks
- 2 tablespoons unsalted butter
- 1 ½ teaspoons vanilla extract
- For the Chocolate Ganache:
- 6 ounces semi-sweet chocolate chips
- ¾ cup heavy cream
I always try to sneak in extra nutrition where I can! For example, sometimes I’ll use whole wheat pastry flour instead of all-purpose for a little added fiber in my Homemade Boston Cream Pie. You can find these wholesome ingredients at your regular grocery store. This Homemade Boston Cream Pie proves nutritious doesn’t mean expensive.
Nutrition Hack: If you don’t have heavy cream on hand, try using full-fat coconut milk for a dairy-free Chocolate Ganache option in your Homemade Boston Cream Pie. My family gets extra nutrition when I add a tablespoon of flaxseed meal to the cake batter. Trust me, this Homemade Boston Cream Pie ingredient list is simple because busy moms need nutrition without complexity! Here’s a Homemade Boston Cream Pie nutrition hack that changed our family’s health: I add a pinch of cinnamon to the Vanilla Cream Filling.
Let’s Make it Happen!
Time to get cooking! Follow these easy steps to create a Homemade Boston Cream Pie that your family will adore. And remember, even if it doesn’t look perfect, it will still taste amazing!
- Prepare the Cake: Preheat your oven to 375°F (190°C). Grease and flour a 9-inch round cake pan. This is a crucial step for easy removal later! In a large bowl, whisk together the flour, baking powder, and salt. In another bowl, cream together the sugar and butter until light and fluffy. Beat in the egg, then gradually add the dry ingredients alternately with the milk, beginning and ending with the dry ingredients. Stir in the vanilla extract. Pour the batter into the prepared pan and bake for 20-25 minutes, or until a toothpick inserted into the center comes out clean. My family loves this part because the house smells incredible while making my Homemade Boston Cream Pie!
- Cool the Cake: Let the cake cool in the pan for 10 minutes before inverting it onto a wire rack to cool completely. Perfect time to prep tomorrow’s lunch! This step is important to prevent the cake from falling apart while making my delicious Homemade Boston Cream Pie.
- Make the Vanilla Cream Filling: In a medium saucepan, whisk together the milk, sugar, cornstarch, and salt. Cook over medium heat, stirring constantly, until the mixture comes to a boil and thickens. Reduce the heat to low and cook for 1 minute more, stirring constantly. Remove from heat and whisk in the egg yolks, butter, and vanilla extract. Pour the filling into a heatproof bowl, cover with plastic wrap (pressing it directly onto the surface to prevent a skin from forming), and refrigerate for at least 2 hours, or until completely chilled. This Vanilla Cream Filling is what takes my Homemade Boston Cream Pie to the next level.
- Prepare the Chocolate Ganache: Place the chocolate chips in a heatproof bowl. In a small saucepan, heat the heavy cream over medium heat until it just comes to a simmer. Pour the hot cream over the chocolate chips and let it sit for 1 minute to soften the chocolate. Gently whisk until smooth and glossy. My kids love helping with this part when making our tasty Homemade Boston Cream Pie.
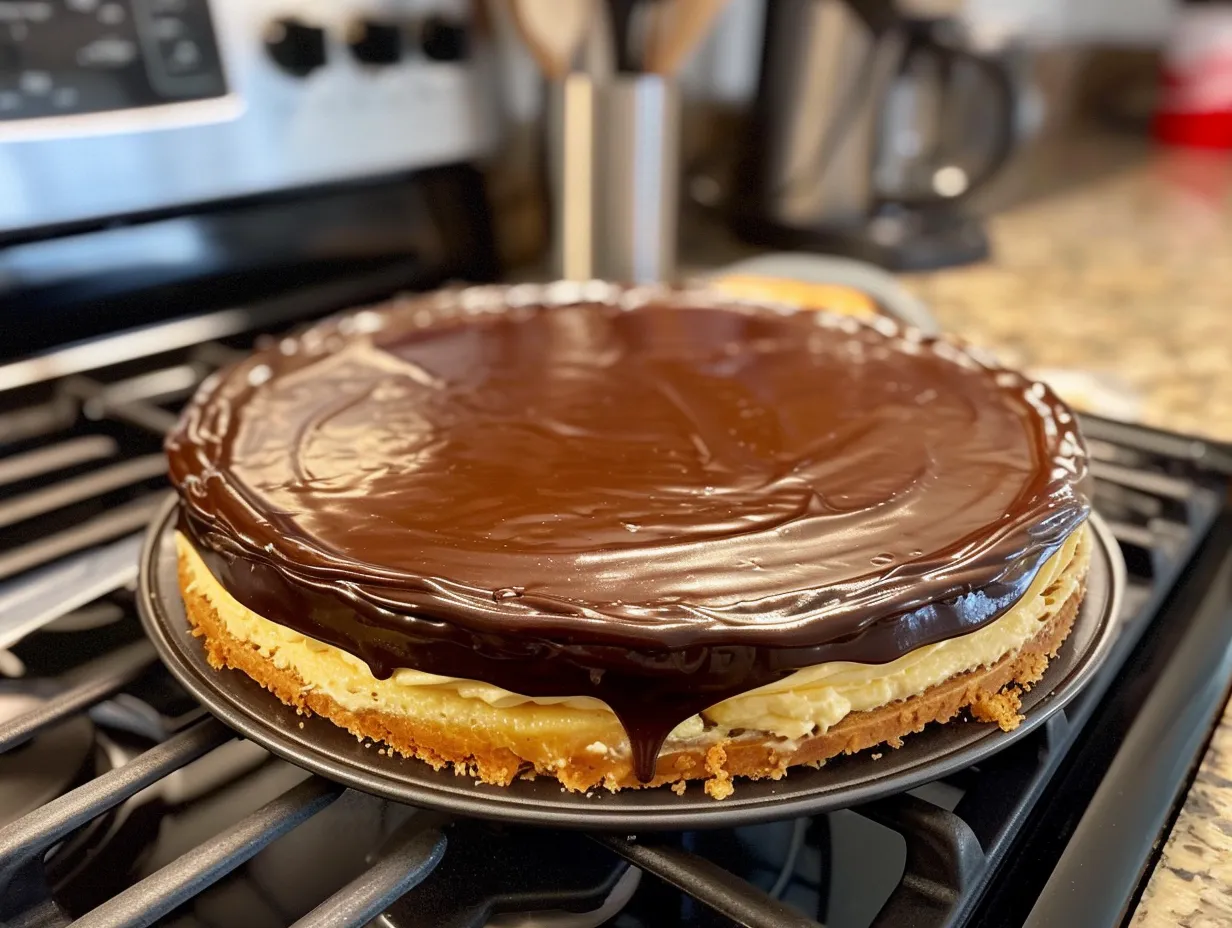
- Assemble the Homemade Boston Cream Pie: Once the cake is completely cooled, use a long serrated knife to slice it horizontally into two equal layers. Place one layer on a serving plate and spread the chilled Vanilla Cream Filling evenly over the top. Place the second cake layer on top of the filling. Pour the Chocolate Ganache over the top layer, allowing it to drip down the sides. Refrigerate for at least 30 minutes to allow the ganache to set before serving. Your Homemade Boston Cream Pie should smell nourishing by now!
- Enjoy! Slice and serve your Homemade Boston Cream Pie with a smile! Here’s where I used to struggle with my Homemade Boston Cream Pie – I didn’t let it chill long enough, so it was a bit messy! Learn from my experience! While your Homemade Boston Cream Pie is cooking, take a moment to appreciate nourishing your family! In my busy kitchen, this nutritious Homemade Boston Cream Pie usually takes about an hour and a half from start to finish, but the results are so worth it! Don’t worry if your Homemade Boston Cream Pie looks a little rustic; it’s the taste that counts!
How We Love to Eat This!
This Homemade Boston Cream Pie is a real treat that my family absolutely loves. Here’s how we make it a part of our regular meal rotation without any guilt. It’s a great way to celebrate special moments or just make an ordinary day feel special!
The kids devour this nutritious Homemade Boston Cream Pie when I serve it with a side of fresh berries. We also enjoy pairing it with a glass of milk or a small scoop of vanilla ice cream. I love serving it with a side of fruit salad for some extra nutrition. For a simple weeknight dessert, a slice of this Homemade Boston Cream Pie is the perfect treat. If you need good nutrition fast, this Homemade Boston Cream Pie is perfect for those busy weeknights!
This makes a wonderful addition to any gathering, and I always get requests for the recipe. I sometimes make mini versions in muffin tins for parties. Leftovers (if there are any!) are great with a cup of coffee the next day, or transformed into a fun trifle.
Seasonal Twist
In the fall, I add a pinch of cinnamon and nutmeg to the filling and cake batter of my Homemade Boston Cream Pie. In the summer, I top it with fresh berries. The kids love both versions! If you need a little more help getting this just right, I found this Classic Boston Cream Pie Recipe + Video – Sugar Geek Show.
FAQs: Your Questions Answered
Got questions? I’ve got answers! Here are some common concerns I hear from other busy moms about making a Homemade Boston Cream Pie. I’m happy to share my personal Homemade Boston Cream Pie experiences and nutrition discoveries.
- Is this Homemade Boston Cream Pie really nutritious enough for growing kids?
Absolutely! By using wholesome ingredients and making smart swaps (like whole wheat flour or adding flaxseed), you can make it a nourishing treat for your little ones. Plus, it’s homemade with love, so you know exactly what’s in it! - What if my picky eater won’t try this healthy Homemade Boston Cream Pie?
Presentation is key! Cut it into fun shapes, serve it with their favorite fruit, or let them help you make it. Sometimes, just being involved in the process can encourage them to try new things. - Can I meal prep this Homemade Boston Cream Pie for busy weeks ahead?
Yes, you can! The cake and Vanilla Cream Filling can be made a day ahead and stored separately in the refrigerator. Assemble the pie and add the Chocolate Ganache just before serving. For an even quicker option, I found an EASY One Bowl Boston Cream Pie – Scientifically Sweet. - How do I store leftover Homemade Boston Cream Pie?
Store any leftovers in an airtight container in the refrigerator for up to 3 days. The ganache might soften a bit, but it will still taste delicious! - Can I make this Homemade Boston Cream Pie gluten-free?
Yes! Simply substitute the all-purpose flour with a gluten-free all-purpose blend. I’ve tried it with great success. - What can I use instead of cornstarch in the Vanilla Cream Filling?
If you don’t have cornstarch, you can use tapioca starch or arrowroot powder as a substitute in your Homemade Boston Cream Pie. Use the same amount as the cornstarch called for in the recipe. - Can I freeze Homemade Boston Cream Pie?
While you can freeze it, the texture might change slightly. I recommend freezing individual slices wrapped tightly in plastic wrap. Thaw in the refrigerator before serving to keep your Homemade Boston Cream Pie tasting its best.
I get asked this question about nutrition the most, “Is Homemade Boston Cream Pie a healthy dessert option?”. When enjoyed in moderation and made with wholesome ingredients, this treat can be a part of a balanced diet. Remember, it’s all about balance and making choices that support your overall well-being.
Final Thoughts
This Homemade Boston Cream Pie is more than just a dessert; it’s a way to create sweet memories with your family. This treat supports my family’s nutrition goals because it allows us to enjoy something decadent without compromising our commitment to wholesome eating. I’ve tweaked this recipe over the years to make it both delicious and a little bit better for us. Here are a few tips for making your Homemade Boston Cream Pie even better!
My Homemade Boston Cream Pie Nutrition Hacks:
- Sneak in some whole grains: I often use part whole wheat pastry flour for added fiber.
- Reduce the sugar: I’ve found you can reduce the sugar by about 25% without sacrificing taste.
- Add fruit: I love topping each slice with fresh berries for extra vitamins and antioxidants.
Family-Tested Healthy Homemade Boston Cream Pie Variations:
- Berry Bliss: Add a layer of fresh raspberry jam between the cake and the cream.
- Chocolate Lover’s Dream: Mix cocoa powder into the cake batter for a richer flavor in your Homemade Boston Cream Pie.
- Nutty Delight: Sprinkle chopped nuts over the ganache for added crunch and nutrition to your Homemade Boston Cream Pie.
My son loves the Berry Bliss version, while my daughter prefers the classic. For inspiration, another fantastic Homemade Boston Cream Pie is available!
I hope you’ll give this nourishing Homemade Boston Cream Pie a try and make it your own. For more simple nutrition ideas for busy families, check out my recipe for Creamy Reuben Soup. It’s another sanity-saving nutrition recipe that’s sure to be a hit! I’m always here to support you on your journey to simple, stress-free family nutrition. If you are in the mood for chicken, you should check out my recipe for Sour Cream and Onion Chicken. My loaded cream cheese halloween brownies are fun as well loaded cream cheese halloween brownies You can do it, Momma! You’ve got this! Making Homemade Boston Cream Pie does not have to be difficult.
Homemade Boston Cream Pie

Indulge in a classic treat with this homemade Boston Cream Pie recipe! A tender sponge cake, creamy custard filling, and rich chocolate glaze combine for a truly decadent dessert.
- Prep Time: 30 minutes
- Cook Time: 35 minutes
- Total Time: 65 minutes
- Yield: 8 servings
- Category: Dessert
- Method: Baked
- Cuisine: American
Ingredients
- For the Cake:
- 1 1/2 cups all-purpose flour
- 1 1/2 teaspoons baking powder
- 1/4 teaspoon salt
- 1/2 cup (1 stick) unsalted butter, softened
- 1 cup granulated sugar
- 2 large eggs
- 1 teaspoon vanilla extract
- 3/4 cup milk
- For the Custard:
- 2 cups milk
- 1/2 cup granulated sugar
- 1/4 cup cornstarch
- 1/4 teaspoon salt
- 4 large egg yolks
- 1 tablespoon unsalted butter
- 1 teaspoon vanilla extract
- For the Chocolate Glaze:
- 4 ounces semi-sweet chocolate, chopped
- 1/2 cup heavy cream
Instructions
- Make the Cake: Preheat oven to 350°F (175°C). Grease and flour a 9-inch round cake pan.
- In a medium bowl, whisk together flour, baking powder, and salt.
- In a large bowl, cream together butter and sugar until light and fluffy. Beat in eggs one at a time, then stir in vanilla.
- Gradually add the dry ingredients to the wet ingredients, alternating with the milk, beginning and ending with the dry ingredients. Beat until just combined.
- Pour batter into the prepared pan and bake for 30-35 minutes, or until a toothpick inserted into the center comes out clean.
- Let cool in the pan for 10 minutes before inverting onto a wire rack to cool completely.
- Make the Custard: In a medium saucepan, whisk together milk, sugar, cornstarch, and salt.
- Cook over medium heat, stirring constantly, until the mixture comes to a boil and thickens.
- Remove from heat and whisk in egg yolks one at a time, whisking constantly to prevent curdling.
- Return to heat and cook for 1 minute more, stirring constantly.
- Remove from heat and stir in butter and vanilla extract.
- Pour custard into a bowl, cover with plastic wrap (pressing directly onto the surface to prevent a skin from forming), and refrigerate for at least 2 hours, or until chilled.
- Make the Chocolate Glaze: Place chocolate in a heatproof bowl.
- In a small saucepan, heat heavy cream over medium heat until just simmering.
- Pour hot cream over chocolate and let sit for 1 minute. Stir until smooth.
- Assemble the Pie: Slice the cooled cake in half horizontally.
- Place one layer on a serving plate and spread evenly with the chilled custard.
- Top with the second cake layer.
- Pour the chocolate glaze over the top of the cake, allowing it to drip down the sides.
- Refrigerate for at least 30 minutes to allow the glaze to set before serving.
Notes
For an extra touch, dust the top of the Boston Cream Pie with powdered sugar before serving.