
Alright, my fellow busy moms, gather ’round! Halloween is right around the corner, and that means one thing: treats! But let’s be honest, navigating the sugary minefield of Halloween can be a little…daunting. That’s why I’m so excited to share this Halloween Whoopie Pies Treat recipe with you. It’s fun, festive, and surprisingly simple to make.
These Halloween Whoopie Pies Treat are a perfect way to get into the spooky spirit without sacrificing our commitment to family nutrition. They’re easy enough for the kids to help make, and you can customize them with your favorite healthier ingredients. So, if you’re looking for a sanity-saving nutrition win this Halloween, stick with me!
I remember the first time I attempted making Halloween Whoopie Pies Treat. My oldest was OBSESSED with all things spooky, and I wanted to create something special that wasn’t loaded with artificial everything. The result? A slightly lopsided, but incredibly delicious, treat that the whole family devoured. It was a moment of pure dinnertime nutrition wins, and I knew I had stumbled upon something special.
What surprised me most was how easy it was to incorporate better-for-you ingredients without sacrificing the fun. I swapped out some of the sugar for applesauce, added a boost of fiber with whole wheat flour, and used dark chocolate for extra antioxidants. It was a total wellness journey!
These Halloween Whoopie Pies Treat became a family favorite, and I’m so excited to share this simple nutrition solution with all of you. Ready to ditch the overwhelm and embrace some spooky, simple nutrition? Let’s get started!
Ingredients You’ll Need
Here’s what you’ll need to create these spooky delights. I’ve included some of my favorite nutrition-focused swaps and budget-friendly options to make your life easier!
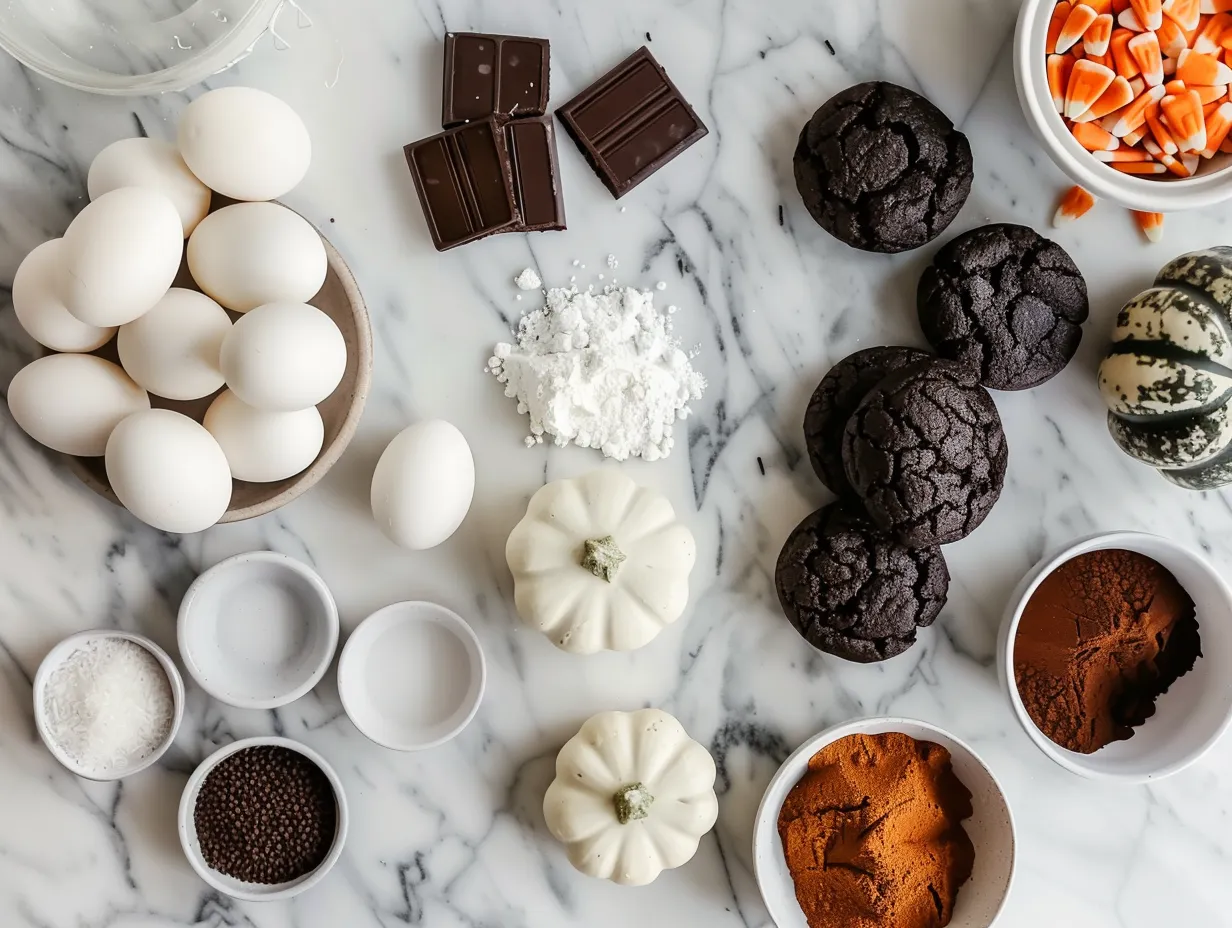
- For the Whoopie Pies:
- 1 ½ cups all-purpose flour
- ½ cup unsweetened cocoa powder
- 1 tsp baking soda
- ½ tsp baking powder
- ¼ tsp salt
- ½ cup (1 stick) unsalted butter, softened
- ¾ cup granulated sugar
- 1/4 cup brown sugar
- 1 large egg
- ½ cup buttermilk
- 1 tsp vanilla extract
- For the Filling:
- ½ cup (1 stick) unsalted butter, softened
- 3 cups powdered sugar
- ½ cup vegetable shortening
- 1 tsp vanilla extract
- 2-4 tablespoons milk
- For Halloween Fun:
- Orange, purple, and green food coloring
- Sprinkles, edible eyeballs, candy corn, or other Halloween decorations
Nutrition Hacks and Tips
Here’s a Halloween Whoopie Pies Treat nutrition hack that changed our family’s health! I often swap out half of the all-purpose flour with whole wheat flour. It adds a boost of fiber without drastically changing the taste. My family gets extra nutrition when I add a tablespoon of flaxseed meal to the batter. You can find these wholesome ingredients at your regular grocery store.
No worries if you don’t have buttermilk! I use a simple trick: add 1 ½ teaspoons of white vinegar or lemon juice to ½ cup of regular milk. Let it sit for 5 minutes, and voila! Buttermilk substitute!
This Halloween Whoopie Pies Treat proves nutritious doesn’t mean expensive. Look for store-brand options for ingredients like flour, sugar, and butter to save money without compromising quality.
Trust me, this Halloween Whoopie Pies Treat ingredient list is simple because busy moms need nutrition without complexity! For a quick ingredient prep shortcut, measure out all your dry ingredients in advance and store them in a sealed container. This saves time when you’re ready to bake!
The cocoa powder provides antioxidants. Buttermilk adds moisture and tenderness to the whoopie pies.
Let’s Make it Happen!
Now for the fun part! Here’s how to bring these Halloween Whoopie Pies Treat to life, step by step. Don’t worry, I’ll be right here with you, sharing my sanity-saving nutrition tips along the way.
- Get Ready to Bake: Preheat your oven to 375°F (190°C). Line two baking sheets with parchment paper or silicone baking mats. This will prevent the whoopie pies from sticking and make cleanup a breeze! I usually do this first.
- Mix Dry Ingredients: In a medium bowl, whisk together the flour, cocoa powder, baking soda, baking powder, and salt. Set aside. This step ensures that all the dry ingredients are evenly distributed. It is important for the texture of the Halloween Whoopie Pies Treat.
- Cream Butter and Sugar: In a large bowl, cream together the softened butter, granulated sugar, and brown sugar until light and fluffy. You can use a stand mixer or a hand mixer for this step. This usually takes about 3-5 minutes.
- Add Egg and Vanilla: Beat in the egg and vanilla extract until well combined. Scrape down the sides of the bowl as needed. Make sure you are not over-mixing the batter at this stage.
- Alternate Adding Dry and Wet Ingredients: Gradually add the dry ingredients to the wet ingredients, alternating with the buttermilk. Begin and end with the dry ingredients. Mix until just combined.
- Drop by Spoonfuls: Drop rounded tablespoons of batter onto the prepared baking sheets, leaving about 2 inches between each whoopie pie.
- Bake: Bake for 8-10 minutes, or until the whoopie pies spring back lightly when touched. Your Halloween Whoopie Pies Treat should smell nourishing by now. Here’s where I used to struggle with my Halloween Whoopie Pies Treat – I would overbake them! Keep a close eye on them to avoid dry whoopie pies.
- Cool: Let the whoopie pies cool on the baking sheets for a few minutes before transferring them to a wire rack to cool completely. This step is crucial to prevent them from sticking to the parchment paper.
- Make the Filling: While the whoopie pies are cooling, prepare the filling. In a large bowl, cream together the softened butter and vegetable shortening until light and fluffy.
- Add Powdered Sugar and Vanilla: Gradually add the powdered sugar, beating until smooth. Stir in the vanilla extract.
- Adjust Consistency: Add milk, one tablespoon at a time, until the filling reaches your desired consistency. It should be creamy and spreadable.
- Color the Filling (Optional): Divide the filling into separate bowls and tint each bowl with food coloring. This is where the Halloween fun begins!
- Assemble the Whoopie Pies: Once the whoopie pies are completely cool, spread a generous amount of filling on the flat side of one whoopie pie and top with another whoopie pie.
- Decorate: Decorate the whoopie pies with sprinkles, edible eyeballs, candy corn, or other Halloween decorations.
- Enjoy: Serve immediately or store in an airtight container in the refrigerator.
In my busy kitchen, this nutritious Halloween Whoopie Pies Treat usually takes about 30 minutes to prep and 10 minutes to bake. Don’t worry if your Halloween Whoopie Pies Treat looks a little rustic. Imperfection is part of the charm!
While your Halloween Whoopie Pies Treat is cooking, take a moment to appreciate nourishing your family! Perfect time to prep tomorrow’s lunch!
Here’s a family-tested nutrition shortcut: make the whoopie pie batter the night before and store it in the refrigerator. This saves time on busy weeknights.
How We Love to Eat This!
Now that you’ve created these adorable Halloween Whoopie Pies Treat, let’s talk about how to serve them up for maximum family enjoyment! I always add a nutrition spin.
The kids devour this nutritious Halloween Whoopie Pies Treat when I serve it with a side of fresh fruit, like sliced apples or oranges. It balances out the sweetness and adds extra vitamins and fiber.
These Halloween Whoopie Pies Treat are perfect for those busy weeknights when we need good nutrition fast! They make a great after-school snack or a fun addition to a Halloween-themed dinner. If your kids love this, they’ll go crazy for Halloween Oreo Brownie Bars!
For a fun presentation, arrange the Halloween Whoopie Pies Treat on a platter and decorate with Halloween-themed candies and decorations. It makes the treat even more appealing to kids.
If you have leftover whoopie pies, store them in an airtight container in the refrigerator. They’re delicious cold, or you can warm them up slightly in the microwave before serving.
We’ve tried seasonal variations with pumpkin spice in the filling. My son loves it!
My daughter’s friend couldn’t believe they were “healthy-ish” and asked for the recipe. It was a total mom win!
FAQs: Your Questions Answered
Got questions? I’ve got answers! Here are some common concerns I hear from busy moms about making these Halloween Whoopie Pies Treat.
- Is this Halloween Whoopie Pies Treat really nutritious enough for growing kids? Absolutely! By making them yourself, you can control the ingredients and reduce the amount of sugar and unhealthy fats. Plus, the cocoa powder provides antioxidants, and you can add extra nutrients with whole wheat flour or flaxseed meal.
- What if my picky eater won’t try this healthy Halloween Whoopie Pies Treat? Start by letting them help you make them! Kids are more likely to try foods they’ve helped prepare. You can also sneak in some extra nutrients by adding pureed vegetables to the filling, like sweet potato or butternut squash. They won’t even taste it!
- Can I meal prep this Halloween Whoopie Pies Treat for busy weeks ahead? Yes! You can make the whoopie pie batter and the filling ahead of time and store them separately in the refrigerator. Assemble the whoopie pies when you’re ready to serve them.
- How can I make this Halloween Whoopie Pies Treat gluten-free? Simply substitute the all-purpose flour with a gluten-free flour blend. Be sure to choose a blend that’s designed for baking, as some gluten-free flours can be dry or crumbly.
- Can I freeze these Halloween Whoopie Pies Treat? Yes, you can freeze them for up to 2-3 months. Wrap them individually in plastic wrap and then place them in a freezer-safe container. Thaw them in the refrigerator before serving.
- What are some other healthy Halloween dessert ideas? Halloween is the perfect time to whip up Halloween Oreo Brownie Bars for friends and family. These are simple and delicious, your kids will love them!
- My filling came out too runny! What did I do wrong? Don’t worry, it happens! The most likely culprit is adding too much milk. Try adding a little more powdered sugar, one tablespoon at a time, until the filling reaches your desired consistency. You can also chill the filling in the refrigerator for a few minutes to help it firm up.
I had a reader ask me if she could use honey instead of sugar. While I haven’t tried it myself, I think it could work! You may need to adjust the amount of liquid in the recipe.
My family prefers the Halloween Whoopie Pies Treat with a cream cheese filling. It’s a little tangier and less sweet than the traditional buttercream filling.
Final Thoughts
These Halloween Whoopie Pies Treat are more than just a dessert. They’re a way to celebrate the season while nourishing your family with wholesome ingredients. Plus, they are easy Halloween treats! I hope this recipe inspires you to get creative in the kitchen and have some fun with simple nutrition! It’s all about finding the sweet spot between fun and nourishment, creating memories along the way. Let’s talk about my Halloween Whoopie Pies Treat nutrition hacks.
My Halloween Whoopie Pies Treat Nutrition Hacks:
- Sneak in the veggies: Pureed sweet potato or butternut squash in the filling adds vitamins and fiber without changing the taste.
- Whole grain goodness: Substitute half of the all-purpose flour with whole wheat flour for a boost of fiber.
- Dark chocolate drizzle: Drizzle the whoopie pies with melted dark chocolate for added antioxidants and a touch of decadence.
Here are a few family-tested healthy Halloween Whoopie Pies Treat variations:
- Pumpkin Spice Whoopie Pies: Add pumpkin puree and pumpkin pie spice to the batter for a fall-flavored treat.
- Chocolate Chip Whoopie Pies: Fold chocolate chips into the batter for a classic twist.
- Peanut Butter Whoopie Pies: Add peanut butter to the filling for a protein-packed treat.
My son loves the chocolate chip version, while my daughter prefers the classic chocolate with orange filling. You can also try these Halloween Whoopie Pies – Delicious Little Bites recipe, this may also appeal to the family!
Remember, the most important ingredient is love. So go ahead, bake these Halloween Whoopie Pies Treat with your family and create some sweet memories that will last a lifetime! I’m cheering you on every step of the way! Enjoy your wellness journey! These will be the best spooky whoopie pies your family will taste. I also recommend Whoopie Pies With Pumpkin Filling (Paleo, GF, DF) – Living Healthy … !
Don’t be afraid to experiment and make this recipe your own. Add your favorite spices, try different fillings, and decorate them in your own unique way. You can also try Frankenstein Chocolate Whoopie Pies for a spooky twist. Happy baking!
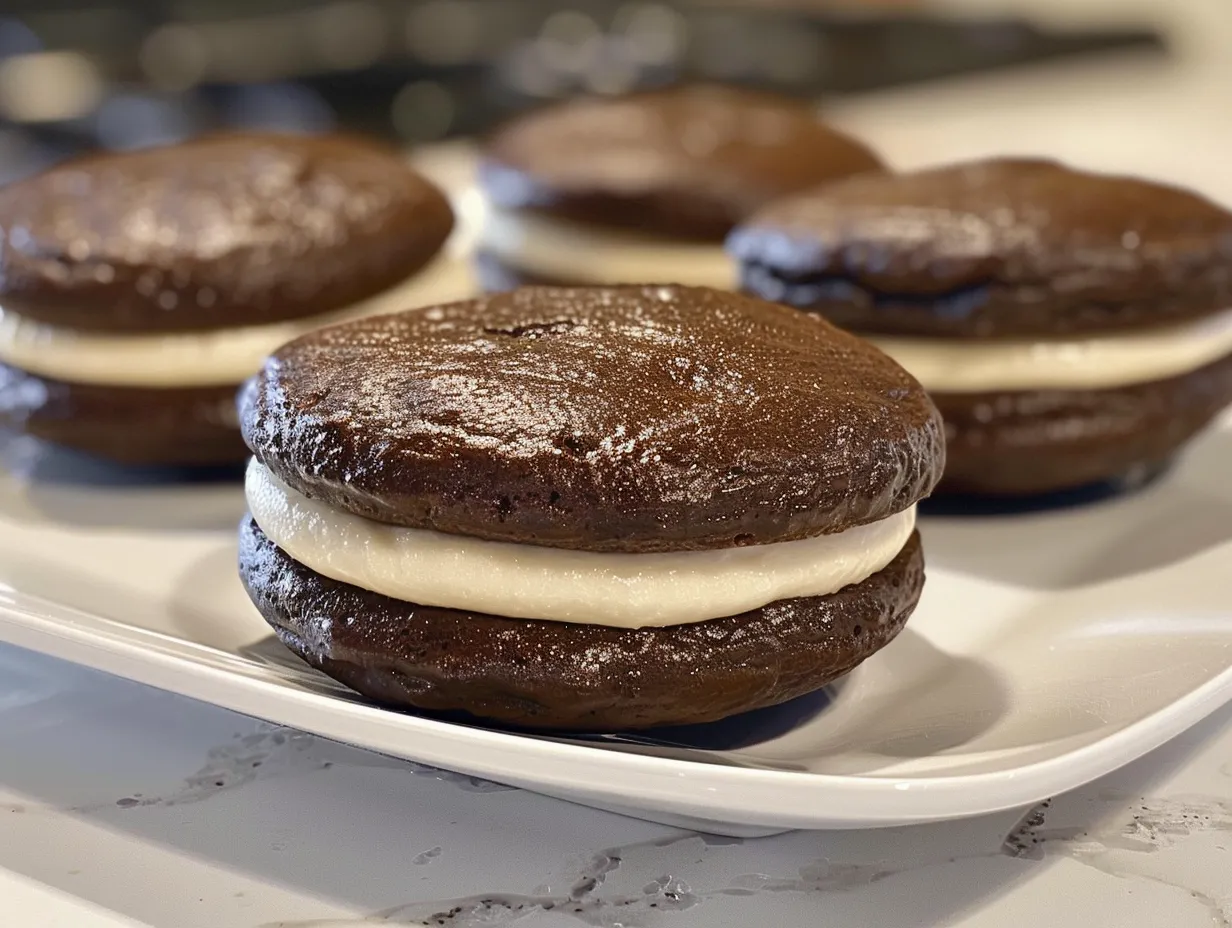
Halloween Whoopie Pies Treat

These spooky Halloween Whoopie Pies are the perfect festive treat! Soft chocolate cookies sandwich a creamy orange filling, making them a delightful and easy dessert for your Halloween celebration.
- Prep Time: 25 minutes
- Cook Time: 10 minutes
- Total Time: 35 minutes
- Yield: 12 whoopie pies
- Category: Dessert
- Method: Baked
- Cuisine: American
Ingredients
- For the Cookies:
- 1 ½ cups all-purpose flour
- ½ cup unsweetened cocoa powder
- 1 teaspoon baking soda
- ½ teaspoon baking powder
- ¼ teaspoon salt
- ½ cup (1 stick) unsalted butter, softened
- ¾ cup granulated sugar
- ¼ cup packed light brown sugar
- 1 large egg
- 1 teaspoon vanilla extract
- 1 cup buttermilk
- For the Filling:
- ½ cup (1 stick) unsalted butter, softened
- 3 cups powdered sugar
- ½ teaspoon vanilla extract
- 3-4 tablespoons milk
- Orange food coloring (optional)
- Halloween sprinkles
Instructions
- Make the Cookies: Preheat oven to 350°F (175°C). Line baking sheets with parchment paper.
- In a medium bowl, whisk together flour, cocoa powder, baking soda, baking powder, and salt.
- In a large bowl, cream together butter, granulated sugar, and brown sugar until light and fluffy. Beat in egg and vanilla.
- Gradually add dry ingredients to wet ingredients, alternating with buttermilk, beginning and ending with dry ingredients. Mix until just combined.
- Drop by rounded tablespoons onto prepared baking sheets.
- Bake for 8-10 minutes, or until set. Let cool on baking sheets for a few minutes before transferring to a wire rack to cool completely.
- Make the Filling: In a large bowl, beat butter until creamy. Gradually beat in powdered sugar until smooth. Stir in vanilla and milk until desired consistency is reached. Add orange food coloring, if using.
- Assemble: Spread filling on the flat side of half of the cookies. Top with remaining cookies. Roll edges in Halloween sprinkles.
- Serve immediately or store in an airtight container.
Notes
For extra spooky fun, try using different food colorings to create various Halloween-themed filling colors. Get creative with your sprinkle selection too!