
Okay, here we go, fellow nutrition-seekers! Let’s dive into the wonderful world of Stained Glass Cookies. I’m so excited to share this recipe because it’s not only beautiful but also a fun way to bring a little joy into our busy lives.
I remember the first time I made Stained Glass Cookies. It was a chaotic December afternoon, kids running around, holiday music blasting, and me trying to channel my inner Martha Stewart (spoiler alert: I’m no Martha!).
The thought of creating these delicate, see-through wonders seemed daunting, but the kids were so excited. I wanted to make something special that would not only be delicious but also a memorable nutrition win!
It turned out to be one of those amazing kitchen moments where the mess didn’t matter and the laughter was the main ingredient. The bright colors peeking through the hard candy “glass” made everyone smile! These Stained Glass Cookies weren’t just treats; they were little edible works of art.
And guess what? They can be surprisingly easy to make, even with little helpers eager to sprinkle every surface with flour. One of the things that makes Stained Glass Cookies a nutrition win for my family is the opportunity to use better quality ingredients!
I’ve learned a few tricks over the years to make the process smoother and even sneak in some extra goodness. I use fruit juice sweetened hard candies, which makes me feel a little better about the sugar content. It’s all about balance, right?
This recipe supports family nutrition by allowing us to enjoy a festive treat while controlling the ingredients. It’s a wellness journey that doesn’t feel like a chore.
I’m sharing my version of Stained Glass Cookies to bring some simple nutrition magic into your home. So, grab your aprons and let’s get baking! Are you ready to create some edible art that will bring smiles and nourish your family?
INGREDIENTS You’ll Need:
Trust me, this Stained Glass Cookies ingredient list is simple because busy moms need nutrition without complexity!
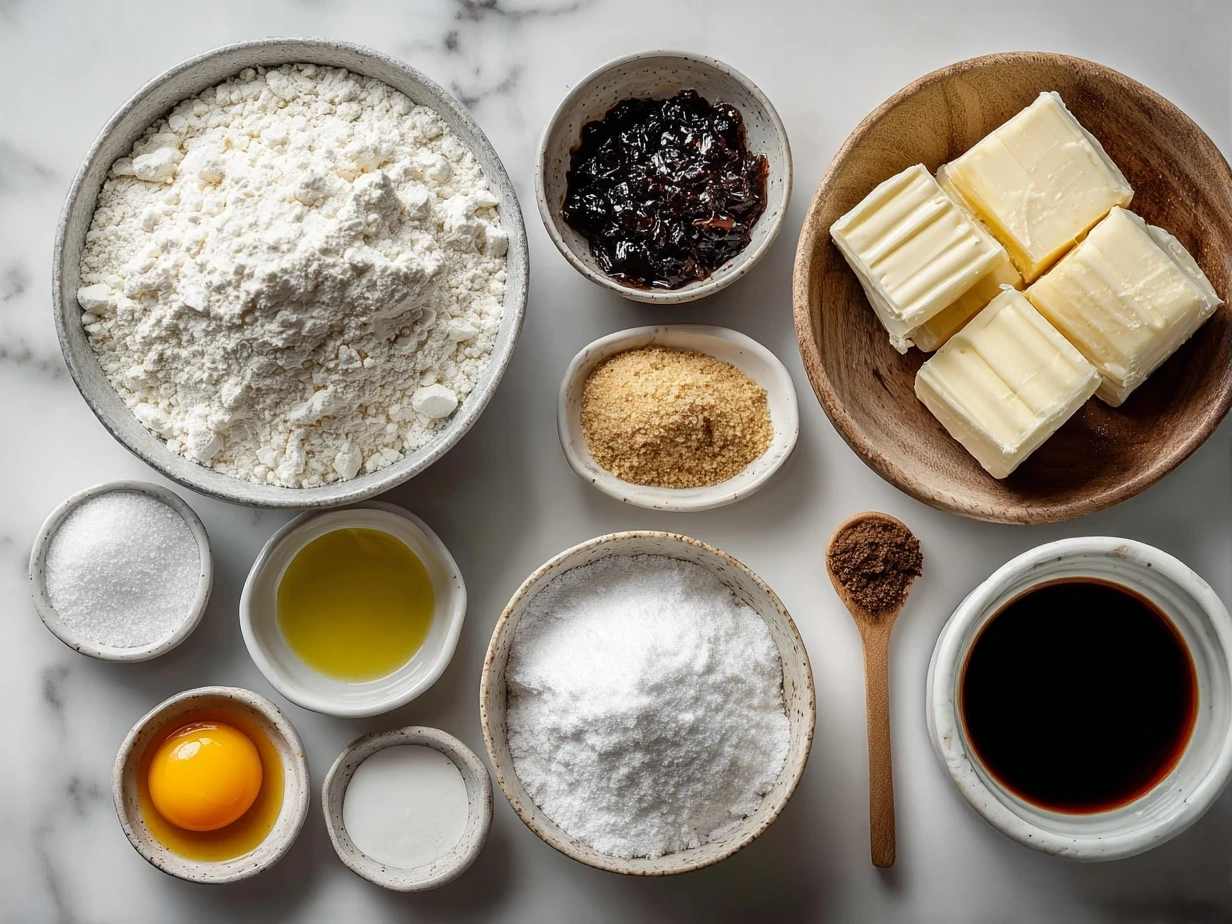
- 1 cup (2 sticks) unsalted butter, softened: Provides richness and flavor. No worries if you’re dairy-free; I use coconut oil sometimes for a healthier fat in my Stained Glass Cookies.
- 1 cup granulated sugar: Sweetness for that classic cookie taste. For a less processed option, I’ll use maple sugar.
- 1 large egg: Binds the ingredients together. My family gets extra nutrition when I add flaxseed.
- 1 teaspoon vanilla extract: Adds a warm, comforting flavor.
- 3 cups all-purpose flour: The base of our cookie dough. I’ve been known to add 1/2 cup of whole wheat flour for extra nutrients.
- 1 teaspoon baking powder: Helps the cookies rise and become tender.
- 1/2 teaspoon salt: Balances the sweetness and enhances the other flavors.
- Hard candies in various colors: This is where the magic happens! You can find these wholesome candies at your regular grocery store. I try to find ones with natural food coloring.
- Optional: sanding sugar or sprinkles: Adds extra sparkle and fun. This Stained Glass Cookies proves nutritious doesn’t mean expensive; a little sparkle goes a long way!
Here’s a Stained Glass Cookies nutrition hack that changed our family’s health: I often add a tablespoon of ground flaxseed to the dough for extra fiber and omega-3s. The kids never even notice!
Remember, this Stained Glass Cookies ingredient list is a starting point. Feel free to adjust it based on your family’s preferences and dietary needs. The most important thing is to have fun and create something delicious together!
Let’s Make it Happen!
Here’s where I used to struggle with my Stained Glass Cookies – learn from my experience!
- Preheat and Prep: Preheat your oven to 375°F (190°C). Line baking sheets with parchment paper. In my busy kitchen, this nutritious Stained Glass Cookies usually takes about 10-12 minutes to bake, so prepping the baking sheets is key.
- Cream Together: In a large bowl, cream together the softened butter and sugar until light and fluffy. This is crucial for a tender cookie.
- Add Egg and Vanilla: Beat in the egg and vanilla extract until well combined. Don’t worry if your Stained Glass Cookies looks a little lumpy at this stage.
- Combine Dry Ingredients: In a separate bowl, whisk together the flour, baking powder, and salt.
- Gradually Add Dry Ingredients to Wet Ingredients: Gradually add the dry ingredients to the wet ingredients, mixing until just combined. Be careful not to overmix. Perfect time to prep tomorrow’s lunch!
- Chill the Dough: Wrap the dough in plastic wrap and chill in the refrigerator for at least 30 minutes. This helps prevent the cookies from spreading too much in the oven. In my experience, chilling it for longer helps even more!
- Crush the Hard Candies: While the dough is chilling, place the hard candies in a zip-top bag and crush them into small pieces using a rolling pin or mallet. This is a great task for the kids!
- Roll Out the Dough: On a lightly floured surface, roll out the dough to about 1/4-inch thickness. Use cookie cutters to cut out your desired shapes. Don’t worry if your Stained Glass Cookies dough sticks a little – just add a bit more flour.
- Cut Out Centers: Use a smaller cookie cutter or a knife to cut out a shape in the center of each cookie. This is where the crushed candies will go. Your Stained Glass Cookies should smell nourishing by now.
- Transfer to Baking Sheets: Carefully transfer the cookies to the prepared baking sheets.
- Fill with Crushed Candies: Fill the center cutouts with the crushed hard candies. Make sure the candy pieces are evenly distributed.
- Bake: Bake for 8-10 minutes, or until the edges of the cookies are lightly golden and the candies are melted.
- Cool: Let the cookies cool on the baking sheets for a few minutes before transferring them to a wire rack to cool completely. While your Stained Glass Cookies are cooking, take a moment to appreciate nourishing your family!
Here’s where I used to struggle with my Stained Glass Cookies – the candy would sometimes bubble over. The key is to not overfill the cutouts!
Remember, the timing might vary slightly depending on your oven, so keep an eye on them! Don’t worry if your Stained Glass Cookies looks imperfect; they’ll still taste delicious!
How We Love to Eat This!
The kids devour this nutritious Stained Glass Cookies when I serve it with a glass of milk!
Our family enjoys these Stained Glass Cookies in so many ways. The simplest is just as a fun and colorful treat. The bright colors and sweet taste make them a hit with everyone. This Stained Glass Cookies is perfect for those busy weeknights when we need good nutrition fast!
For a more complete snack, I often serve these with a side of fresh fruit. Apple slices or a handful of berries provide extra vitamins and fiber. It’s all about balance, right? We also enjoy them with a small glass of milk.
These cookies are perfect for holiday gatherings, birthday parties, or even as a special addition to lunchboxes. They add a touch of whimsy and are always a conversation starter. These Stained Glass Cookies remind me of another family-healthy favorite, my Halloween Crinkle Cookies!
Presentation matters, especially when trying to get kids excited about healthy eating. I like to arrange the cookies on a pretty platter or in a colorful tin. A little bit of visual appeal can go a long way.
Leftovers (if there are any!) can be stored in an airtight container at room temperature. They’re usually gone within a couple of days in my house.
I’ve also experimented with seasonal variations. For Christmas, I use red and green candies and cookie cutters shaped like stars and trees. For more simple nutrition ideas for busy families, check out my Zucchini Chocolate Chip Cookies!
Friends and guests always rave about these cookies. They’re impressed by the beautiful “stained glass” effect and love the taste. Plus, they appreciate that I’m making an effort to provide a treat that’s both fun and made with better ingredients.
FAQs: Your Questions Answered
Is this Stained Glass Cookies really nutritious enough for growing kids?
Yes, it can be! While it’s still a treat, you can boost the nutrition by using whole wheat flour, adding flaxseed, and choosing hard candies with natural food coloring. Every little bit helps!
What if my picky eater won’t try this healthy Stained Glass Cookies?
Start by involving them in the baking process. Let them crush the candies or help cut out the shapes. When kids are involved in making food, they’re more likely to try it. You could also try making smaller cookies or using their favorite colors of candy.
Can I meal prep this Stained Glass Cookies for busy weeks ahead?
Absolutely! You can make the dough ahead of time and store it in the refrigerator for up to 3 days. You can also bake the cookies and store them in an airtight container for a few days. I don’t advise filling them until you are ready to bake!
Can I make these Isomalt Cookies using isomalt instead of hard candy?
Yes, you can use isomalt for making See Through Cookies. Isomalt is often used in cake decorating to create a sugar glass effect. It provides a clearer, more glass-like finish compared to hard candies. Just melt the isomalt carefully according to package directions and pour it into the cookie cutouts before baking.
Can I use different types of cookie dough for these Christmas Cookies?
Yes, you can experiment with different types of cookie dough. Sugar cookie dough is a classic choice, but you could also use gingerbread dough for a festive twist or shortbread dough for a buttery flavor. Just make sure the dough holds its shape well during baking.
Where can I find inspiration for Sugar Glass Cookies designs?
Websites like Preppy Kitchen showcase beautiful Stained Glass Cookies designs. There’s even a Facebook group looking for the original 1970s Stained Glass Cookies recipe! Or, get creative with your own designs!
Can I add extracts, spices, or zest for extra flavor in the dough?
Yes, feel free to add extracts like almond or lemon, spices like cinnamon or nutmeg, or citrus zest to the dough for extra flavor. These additions can enhance the taste of the cookies and complement the sweetness of the hard candies.
Can I make these Hard Candy Cookies with gluten-free flour?
Yes, you can make these cookies with gluten-free flour. Use a 1:1 gluten-free flour blend that is designed to replace all-purpose flour in baking. Keep in mind that the texture of the cookies might be slightly different, so you may need to adjust the baking time accordingly.
Final Thoughts:
This recipe supports my family’s nutrition goals by allowing us to enjoy a fun treat while controlling the ingredients and adding a few extra nutrients. The bright colors and festive shapes make these cookies a hit with everyone.
- Add ground flaxseed to the dough for extra fiber and omega-3s.
- Use fruit juice-sweetened hard candies to reduce refined sugar intake.
- Involve the kids in the baking process to encourage them to try new foods.
- Gingerbread Stained Glass Cookies: Use gingerbread dough and decorate with red and green candies for a festive twist.
- Citrus Stained Glass Cookies: Add lemon or orange zest to the dough for a bright, refreshing flavor.
- Chocolate Stained Glass Cookies: Add cocoa powder to the dough for a rich, chocolatey treat.
My son loves the gingerbread version, while my daughter prefers the citrus flavor. I personally enjoy the classic sugar cookie with a hint of vanilla! If your kids love this wholesome recipe, they’ll go crazy for my Carrot Cake Oatmeal Cookies!
I hope you and your family enjoy making these Stained Glass Cookies as much as we do! Remember, it’s all about finding ways to make healthy eating fun and accessible. Don’t be afraid to experiment with different flavors and shapes. Make them your own!
I hope this recipe brings a little joy and nourishment to your family. You’ve got this, mama! Happy baking!
Stained Glass Cookies

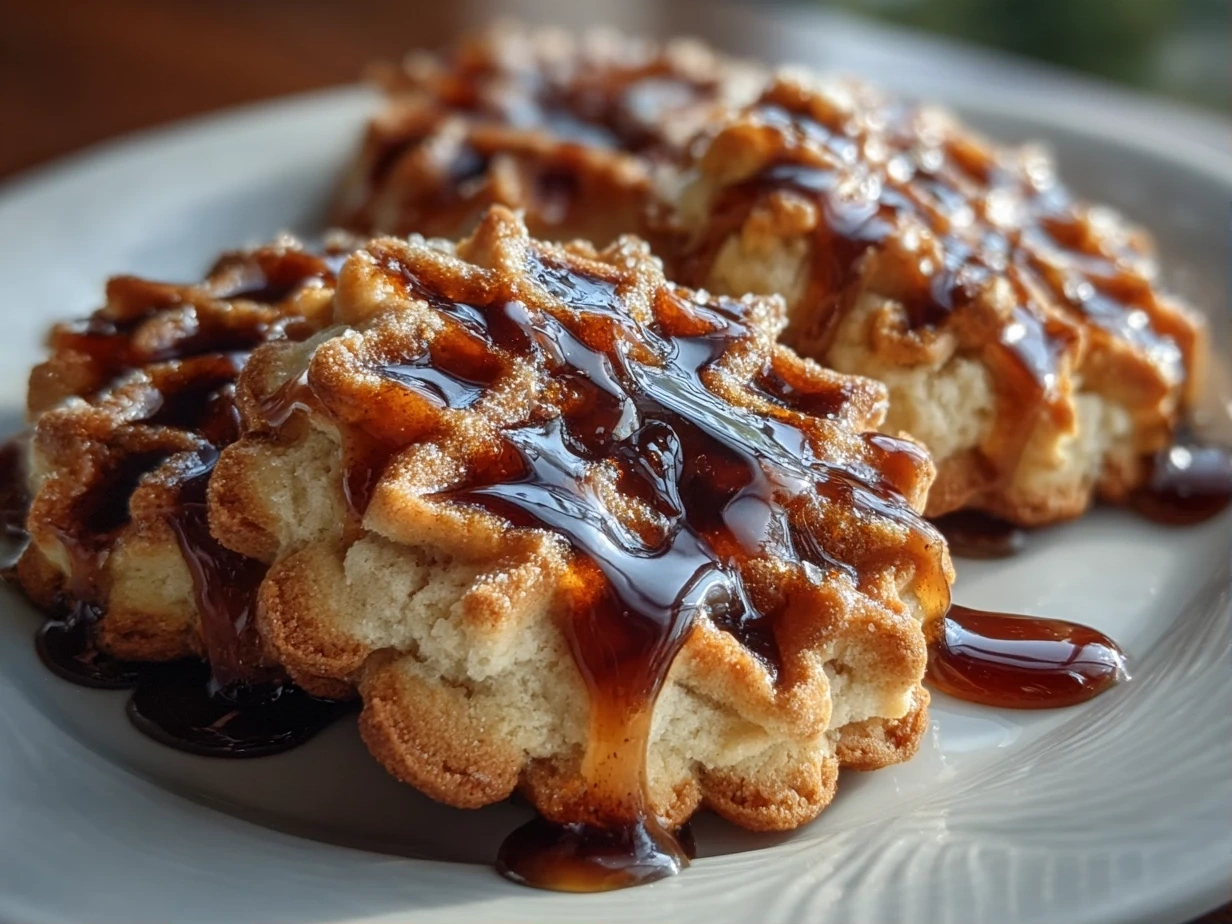
These Stained Glass Cookies are a festive and beautiful treat for the holidays. Crisp sugar cookies with melted hard candy ‘glass’ create a stunning edible masterpiece.
- Prep Time: 30 minutes
- Cook Time: 10 minutes
- Total Time: 40 minutes
- Yield: 24 cookies
- Category: Dessert
- Method: Baked
- Cuisine: American
Ingredients
- 1 cup (2 sticks) unsalted butter, softened
- 1 cup granulated sugar
- 1 large egg
- 1 teaspoon vanilla extract
- 3 cups all-purpose flour
- 1/2 teaspoon baking powder
- 1/4 teaspoon salt
- Hard candies (such as Jolly Ranchers), assorted colors
Instructions
- In a large bowl, cream together the butter and sugar until light and fluffy. Beat in the egg and vanilla extract.
- In a separate bowl, whisk together the flour, baking powder, and salt. Gradually add the dry ingredients to the wet ingredients, mixing until just combined.
- Divide the dough in half, flatten into discs, and wrap in plastic wrap. Chill for at least 1 hour.
- Preheat oven to 350°F (175°C). Line baking sheets with parchment paper.
- On a lightly floured surface, roll out the dough to 1/4-inch thickness. Use cookie cutters to cut out desired shapes. Use a smaller cookie cutter to cut out a shape in the center of each cookie.
- Place the cookies on the prepared baking sheets. Crush the hard candies into small pieces using a food processor or a zip-top bag and a rolling pin.
- Fill the center cutouts with the crushed candy.
- Bake for 8-10 minutes, or until the cookies are lightly golden and the candy is melted.
- Let the cookies cool completely on the baking sheets before removing.
Notes
For extra flavor, add a pinch of almond extract to the dough. Store cooled cookies in an airtight container at room temperature.